This post shows users and new students that how to Installing Eclipse Oxygen IDE on Ubuntu.
Developers of it IT sectored looking for a great IDE platform to developing their applications and manage codes of applications, Eclipse IDE is a great place to start to developing applications and manage their codes. Eclipse IDE is a most popular Java IDE(Integrated Development Environment), but it is also works with C/C++ IDE and PHP IDE and also other languages.
This post is good to show students that how to install Eclipse Oxygen IDE installer on Ubuntu desktop.
Please follow these below steps to install Eclipse on Ubuntu
Step 1: Install Java JDK8
Eclipse IDE required Java JDK to be installed on the system . At that time, Java JDK 8 is only fully compatible to install JDK.
sudo add-apt-repository ppa:webupd8team/javaAfter runs that commands, you will see a prompt for accept the PPA key into Ubuntu. accept it and continue
After it the PPA repository is added to Ubuntu. Run commands below for downloading Oracle Java 9 installer.
sudo apt update
sudo apt install oracle-java8-installer
When you runs the above commands you will see a prompt to access license and terms of the software. Accept it and continue.

Install the oracle-java8-set-default package.
sudo apt install oracle-java8-set-default
you can also check your java version by running below command.
javac -version
Step 2: Download Eclipse Oxygen
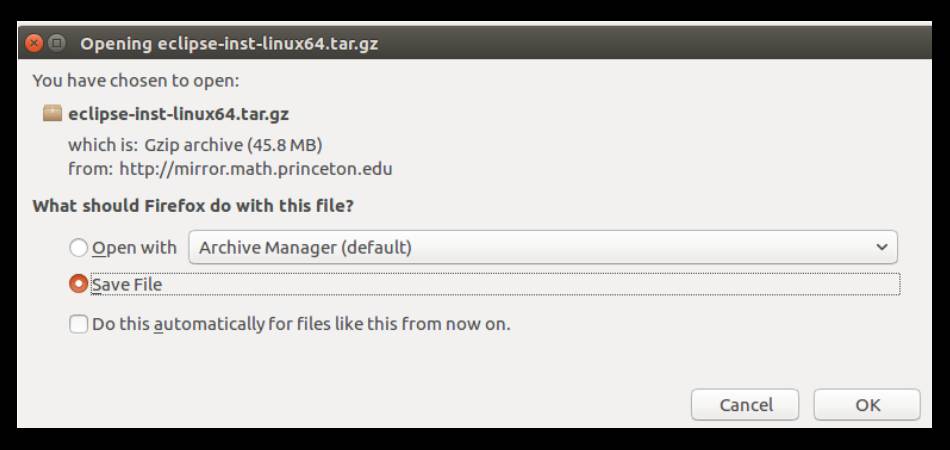
For Downloading Eclipse Oxygen IDE you can use below link :
https://www.eclipse.org/downloads/

Step 3: Install Eclipse IDE
USe Below commands to Installing Eclipse IDE
tar xfz ~/Downloads/eclipse-inst-linux64.tar.gz
~/Downloads/eclipse-installer/eclipse-inst
Now Select package IDE that you want to install and continue
After selecting pakage of IDE , Accept the default installation directory and continue
After that above Processes next is , accept the license and terms and continue.
Wait for the Eclipse installer to downloading and installing all packages.
After Complete downloading , all you have to do is launch the program .
Step 3: Create Eclipse App Launcher
Now we have to successfully downloaded and installed Eclipse, Now create a launcher for application. For do that, run the below commands
nano .local/share/applications/eclipse.desktop
Next step, copy and paste the below content into the file and save
[Desktop Entry]
Name=Eclipse JEE Oxygen
Type=Application
Exec=/home/mukesh/eclipse/mkk-oxygen/eclipse/eclipse
Terminal=false
Icon=/home/mukesh/eclipse/mkk-oxygen/eclipse/mkk.xpm
Comment=Integrated Development Environment
NoDisplay=false
Categories=Development;IDE;
Name[en]=Eclipse
Replace username (mukesh) with your own account name and also replace the Exec = location and mkk.xpm should depend on where Eclipse got installed on system.
Save the file and exit.
Then You have a launcher for Eclipse Oxygen. Open the Dash search for Eclipse, then launch.
That’s All!
Enjoy!


