ONLYOFFICE Docs is a free and open-source web-based office suite that allows you to create, edit, and collaborate on documents, spreadsheets, and presentations. It also provides features like real-time co-authoring, version control, and integration with popular cloud storage platforms. In this guide, we will cover everything you need to know to install ONLYOFFICE Docs on Ubuntu 20.04.
Hardware Requirements
Before installing ONLYOFFICE Docs, you should ensure that your server meets the following hardware requirements:
- CPU dual core 2 GHz or better
- RAM 4 GB or more
- HDD at least 20 GB of free space
- SWAP at least 4 GB, but depends of the host OS. More is better
How to Install ONLYOFFICE Docs on Ubuntu
Before starting the installation process, we recommend updating your Ubuntu 20.04 system to ensure that you have the latest software packages installed. Open a terminal window and run the following command:
sudo apt update && sudo apt upgrade -yInstall Dependencies
ONLYOFFICE Docs requires several dependencies to be installed before it can run properly. Open a terminal window and run the following command to install these dependencies:
sudo apt install curl gnupg2 ca-certificates lsb-release -yAdd ONLYOFFICE Docs Repository
ONLYOFFICE Docs is not available in the default Ubuntu 20.04 repositories. Therefore, we need to add the ONLYOFFICE Docs repository to our system. Run the following command to add the repository:
echo "deb http://download.onlyoffice.com/repo/debian squeeze main" | sudo tee /etc/apt/sources.list.d/onlyoffice.listNext, add the GPG key for the ONLYOFFICE repository by running the following curl command:
curl https://download.onlyoffice.com/repo/onlyoffice.key | sudo apt-key add -Install ONLYOFFICE Docs
Once the repository has been added and the GPG key has been imported, we can install ONLYOFFICE Docs by running the following command:
sudo apt update && sudo apt install onlyoffice-docs -yConfigure ONLYOFFICE Docs
By default, ONLYOFFICE Docs listens on port 80, which is used by the Apache2 web server. Therefore, we need to configure ONLYOFFICE Docs to listen on a different port. Open the configuration file using the following command:
sudo nano /etc/onlyoffice/documentserver/local.jsonFind the line that says "port": 80 and change the port number to a different value, such as 8888. Save and close the file.
Restart ONLYOFFICE Docs
After making changes to the configuration file, we need to restart ONLYOFFICE Docs for the changes to take effect. Run the following command to restart the service:
sudo systemctl restart onlyoffice-documentserverAccess ONLYOFFICE Docs
ONLYOFFICE Docs is now installed and configured on your Ubuntu 20.04 system. To access it, open a web browser and enter the IP address or domain name of your server, followed by the port number you configured in step above. For example, if your server’s IP address is 192.168.1.100 and you configured ONLYOFFICE Docs to listen on port 8888, enter the following in your web browser:
http://192.168.1.100:8888Switching to HTTPS
Switching ONLYOFFICE Docs to HTTPS is a crucial step in ensuring that your documents and data are secure during transmission. Fortunately, it’s easy to do so by automatically getting Let’s Encrypt SSL certificates using certbot.
To get started, you’ll first need to install certbot on your Ubuntu system. You can do this by running the following commands:
sudo snap install --classic certbot
sudo ln -s /snap/bin/certbot /usr/bin/certbot
Once certbot is installed, you can then run the ONLYOFFICE Docs Docker container with ports 80 and 443 specified and your domain name and email set as environment variables. This can be done with the following command:
sudo docker run -i -t -d -p 80:80 -p 443:443 \
    -e LETS_ENCRYPT_DOMAIN=yourdomain.com -e LETS_ENCRYPT_MAIL=email@example.com onlyoffice/documentserver
Make sure to replace “yourdomain.com” with your actual domain name and “email@example.com” with your email address. This command will automatically generate and install Let’s Encrypt SSL certificates for your domain, securing your connection to ONLYOFFICE Docs.
After completing these steps, your ONLYOFFICE Docs installation will be accessible via HTTPS at https://yourdomain.com. This will ensure that your data and documents are transmitted securely and cannot be intercepted by unauthorized parties.
Integrating with Cloud Platforms
ONLYOFFICE Docs can be integrated with your DMS/sync&share system using a connector, which is an integration app that acts as a bridge between the two systems. The developers of ONLYOFFICE Docs provide ready-to-use integration apps on their website.
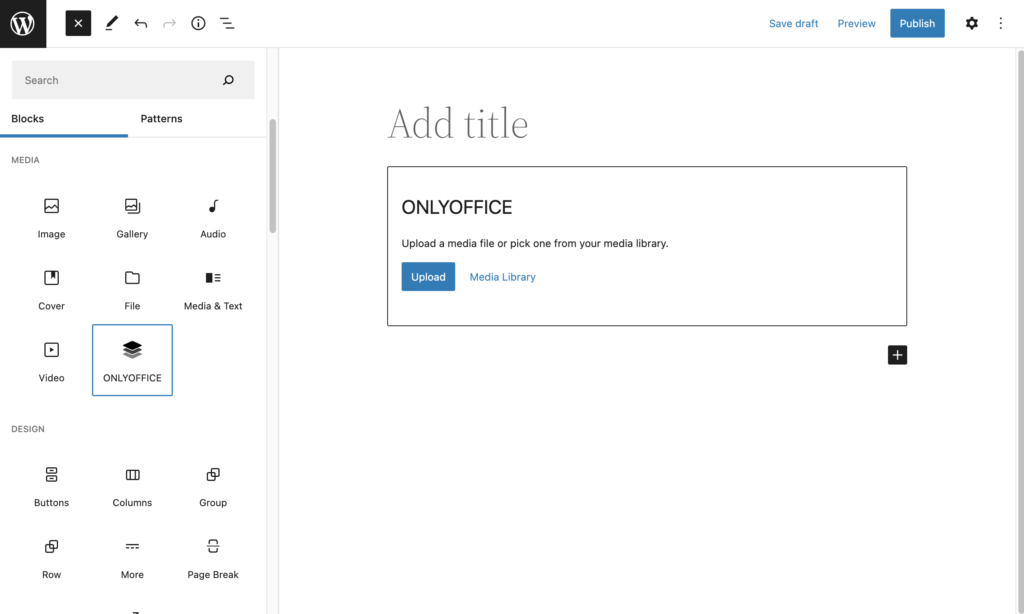
One of the recently added integrations is with WordPress, which allows you to edit and collaborate on office documents directly within the WordPress administrative dashboard. You can even add ONLYOFFICE blocks to your WordPress posts to embed documents and collaborate on them with others.

Integrating ONLYOFFICE Docs with your DMS/sync&share system can provide significant benefits in terms of document management and collaboration. The ready-to-use integration apps make it easy to get started with integration, and the WordPress integration is just one example of how this integration can be achieved.
Conclusion
In this tutorial, we have shown you how to install ONLYOFFICE Docs on Ubuntu 20.04. With ONLYOFFICE Docs, you can easily create, edit and collaborate on documents, spreadsheets, and presentations in a web-based environment. By following the steps outlined in this guide, you can have ONLYOFFICE Docs up and running on your Ubuntu 20.04 server in no time.
Got questions or suggestions on the article? Don’t hesitate to leave a comment below. Your feedback is valuable to us and helps improve the content quality. And don’t forget to share this article with others who might find it useful. Looking forward to hearing from you!
If our tutorials helped you, please consider buying us a coffee. We appreciate your support!
Thank you for your support.


