This post shows how to install LAMP Stack on Windows 10 WSL (Windows Subsystem for Linux) with Ubuntu 18.04 | 20.04 operating system.
LAMP is a free and open-source Web development platform that used for web application development. It uses Linux as the operating system, Apache2 as the HTTP Web server, MySQL or MariaDB as the database server and PHP as the object-oriented scripting language. It stands for Linux, Apache2 HTTP Server, MySQL or MariaDB database, and PHP programming language.
With the help of WSL, you can easily install full Linux operating system in your Windows 10 system. You just need to enable WSL (Windows Subsystem for Linux) in your Windows, install a Linux OS, install and run LAMP Stack.
How to Install LAMP Stack on Windows 10 WSL
Simply follow below steps to install LAMP Stack on Windows 10 WSL with Ubuntu OS :
Step 1 : Enable WSL in Windows 10
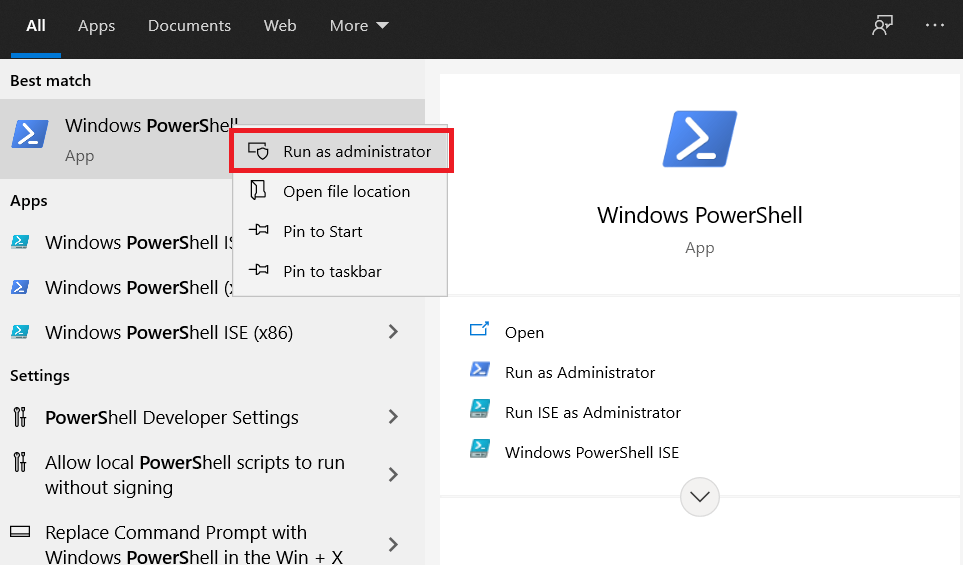
First of all, you will need to enable WSL in your Windows system. To enable it, simply open PowerShell terminal as administrator.
Click on Start icon -> search for PowerShell -> right-click Windows PowerShell app -> choose to run as administrator.
Next, run the command below in the Windows PowerShell console as show below:
dism.exe /online /enable-feature /featurename:Microsoft-Windows-Subsystem-Linux /all /norestartThe command above will display a successful message similar as below:
Deployment Image Servicing and Management tool
Version: 10.0.19041.844

Image Version: 10.0.19042.985

Enabling feature(s)
[==========================100.0%==========================]
The operation completed successfully.
Step 2 : Enable Virtual Machine Platform
Run the commands below from the same PowerShell console to enable the Virtual Machine platform in your Windows system:
dism.exe /online /enable-feature /featurename:VirtualMachinePlatform /all /norestartIf you have Windows 10 version lower than 2004 in your system, use the commands below:
Enable-WindowsOptionalFeature -Online -FeatureName VirtualMachinePlatform -NoRestartNext, restart your computer for changes to apply. If you forget to start then the below command doesn’t work.
After restart of your computer, launch the PowerShell as administrator again and run the commands below to set WSL 2 as the default version of WSL:
wsl --set-default-version 2Step 3 : Install Ubuntu in Windows 10
At this stage, WSL 2 is installed and ready to be used. So now you can easily install Linux operating system in your Windows 10 system.
Click the below button to download and install Ubuntu 20.04 LTS from Microsoft Windows store.

Click on the Get button to Download and Install Ubuntu. After installing Ubuntu, launch it from WSL environment.
After launching, it will install and prompt to create your account as show below :
Installing, this may take a few minutes...
Please create a default UNIX user account. The username does not need to match your Windows username.
For more information visit: https://aka.ms/wslusers
Enter new UNIX username: studiesonline
New password:
Retype new password:
passwd: password updated successfully
Installation successful!
To run a command as administrator (user "root"), use "sudo <command>".
See "man sudo_root" for details.

Welcome to Ubuntu 20.04.2 LTS (GNU/Linux 4.4.0-19041-Microsoft x86_64)

 * Documentation:  https://help.ubuntu.com
 * Management:     https://landscape.canonical.com
 * Support:        https://ubuntu.com/advantage
Use some troubleshooting commands when you get issues above. Run the below troubleshooting commands and launch Ubuntu again:
wsl --set-default-version 1
bcdedit /set hypervisorlaunchtype auto start
Step 4 : Prepare Ubuntu
In the above step, we have installed Ubuntu in Windows WSL. Next, Run the command below to manage and update Ubuntu:
sudo apt update
sudo apt upgrade
sudo apt autoremove
Step 5 : Install Apache HTTP Server
In the LAMP, A stands for Apache HTTP server. Run the commands below to install Apache2 HTTP on Ubuntu server:
sudo apt update
sudo apt install apache2
Next, run the commands below to stop, start and restart Apache2 services:
sudo service apache2 stop
sudo service apache2 start
sudo service apache2 restart
For check if Apache2 server is installed and working, simply open your browser and type server IP or hostname.
If browser show result similar like below then Apache2 is installed and working properly.
http://localhost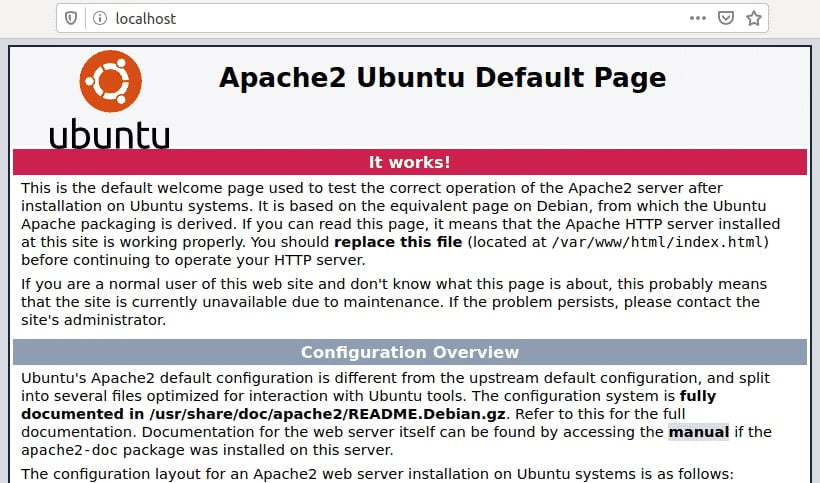
Step 6 : Install MariaDB Server
In the LAMP, M stands for MySQL or MariaDB database server. MariaDB database server is an open source, fast and secure database server.
To install MariaDB database server, simply run the commands below:
sudo apt update
sudo apt install mariadb-server mariadb-client
Next, run the commands below to stop, start and restart MariaDB service :
sudo service mysql stop
sudo service mysql start
sudo service mysql restart
Now, run the commands below to secure MariaDB server by creating a root password and disallowing remote root access.
sudo mysql_secure_installationWhen you run the above command, it will prompted to answer the questions as show below:
- Enter current password for root (enter for none): Just press the Enter
- Set root password? [Y/n]: Y
- New password: Enter password
- Re-enter new password: Repeat password
- Remove anonymous users? [Y/n]: Y
- Disallow root login remotely? [Y/n]: Y
- Remove test database and access to it? [Y/n]: Y
- Reload privilege tables now? [Y/n]: Y
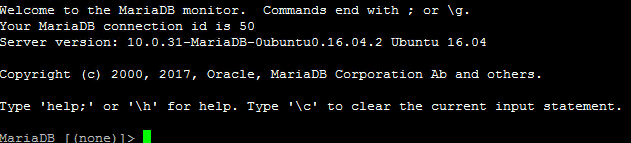
For check if MariaDB is installed and working, run the command below:
sudo mysql -u root -pWhen prompted, type the root password.
If you see a screen similar as shown below, then the server was successfully installed.
Step 7 : Install PHP and Related Modules
In the LAMP, P stands for PHP. To install PHP and related modules, run the command below:
sudo apt install php libapache2-mod-php php-common php-mysql php-gmp php-curl php-intl php7.4-mbstring php-xmlrpc php-gd php-xml php-cli php-zipAfter installing the PHP and related modules, run the commands below to verify that PHP is installed or not :
php -vOutput
PHP 7.4.3 (cli) (built: Oct 6 2020 15:47:56) ( NTS )
Copyright (c) The PHP Group
Zend Engine v3.4.0, Copyright (c) Zend Technologies
with Zend OPcache v7.4.3, Copyright (c), by Zend TechnologiesYou can also test the PHP installation using a test php script. To do that, create a test PHP file called phpinfo.php in the server’s default home directory using command below.
sudo nano /var/www/html/phpinfo.phpThen simply copy and paste the below line into the test file and save it.
<?php phpinfo( ); ?>
Save the file and exit.
Restart the Apache2 using command below:
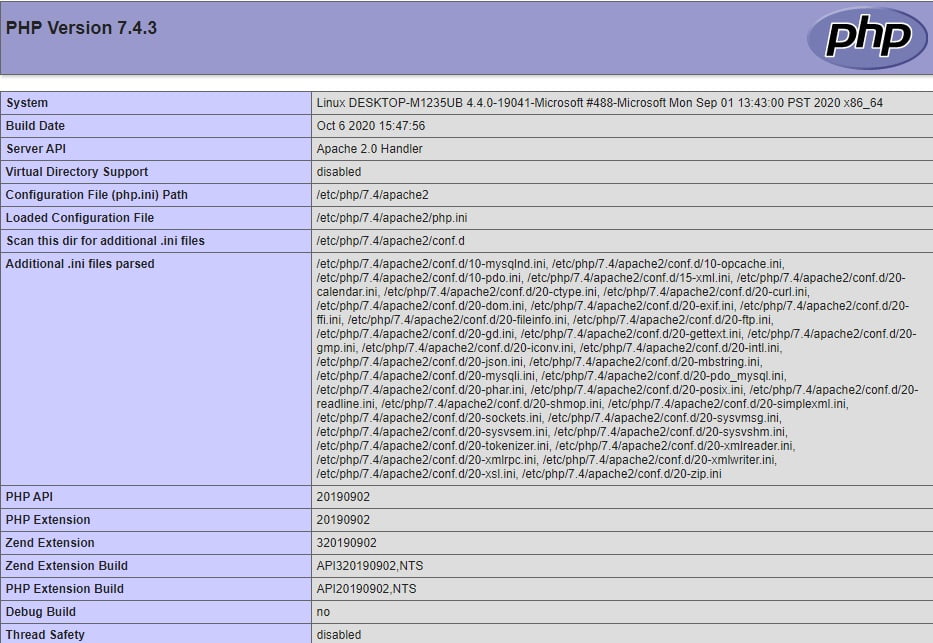
sudo service apache2 restartNext, open your browser and browse to the server hostname or IP address followed by phpinfo.php as show below:
When test file is open, you see the PHP default page
That’s all
If you find any error and issue in above steps , please use comment box below to report.
If our tutorials helped you, please consider buying us a coffee. We appreciate your support!
Thank you for your support.

