In this article, we are going to shows that how to Install Chef Server on Ubuntu 18.04 | 20.04.
Chef is a configuration management tool based on Ruby and Erlang that is designed to transform your infrastructure into a code. It is allows IT operators that how the infrastructure is deployed, configured, and managed.
It has basically three main components:
- Chef Workstation
- Chef Server
- Chef Client/Node
To install Checf Workstation, Check our previous post How to Install Chef Workstation on Ubuntu 18.04 | 20.04.
Chef server is the center of interaction for configuration data under Chef management. It stores, manages, and provides configuration settings to all Chef components.
Install Chef Server on Ubuntu 18.04 | 20.04
Simply follow below steps to Install it on Ubuntu 18.04 | 20.04:
Step 1 : Update system and install required tools
To update system and install some required tools, run the commands below:
sudo apt update
sudo apt install curl wget
Next, you will need to set the server hostname. To set it, run the command below:
sudo hostnamectl set-hostname chef.example.comReplace example.com with your active server hostname.
You can also set its server hostname record using the /etc/hosts file. To open the file, run the ccommand below:
sudo nano /etc/hostsnext, add the below line into the file as show below:
192.168.146.90 chef-server.example.comAfter made the changes, Save the file and exit.
Step 2 : Download and Install Chef Server
Run the commands below to download Chef server packages:
cd /tmp
wget https://packages.chef.io/files/stable/chef-server/13.0.17/ubuntu/18.04/chef-server-core_13.0.17-1_amd64.deb
After downloading, next run the command below to install it:
sudo apt install ./chef-server-core_13.0.17-1_amd64.debNext, you will need to accept its licensing terms and configure the server’s services by running below command:
sudo chef-server-ctl reconfigureWhen you run the above command, it will show a output similar like below. Type yes to continue:
Output
---------------------------------------------+
            Chef License Acceptance

Before you can continue, 3 product licenses
must be accepted. View the license at

Licenses that need accepting:
  * Chef Infra Server
  * Chef Infra Client
  * Chef InSpec

Do you accept the 3 product licenses (yes/no)?

> yes
Next you will need to create an admin account. To create it use the command below:
sudo chef-server-ctl user-create chefadmin Super Admin chefadmin@example.com 'type_strong_password' --filename ~/chefadmin.pemWhen you run the the command above, it will create a new admin account with full name Super Admin and store it in your system home folder.
After create a admin account, you will also need to create an organization account by using command below:
sudo chef-server-ctl org-create example "Example INC." --association_user chefadmin --filename ~/example-org.pemHere,
- example – Organization short name. .
- “Example INC.” – Organization full name.
- –association_user – New admin account created above.
- –filename – To store the RSA key for validation.
Step 3 : Install Chef Manage
Chef Mange is allows you to use a web interface to manage Chef tasks. It is a premium add-on and free up to 25 nodes. To install it run the commands below:
sudo chef-server-ctl install chef-manage
sudo chef-server-ctl reconfigure
sudo chef-manage-ctl reconfigure
sudo chef-manage-ctl reconfigure --accept-license
Step 4 : Access Chef Web Interface
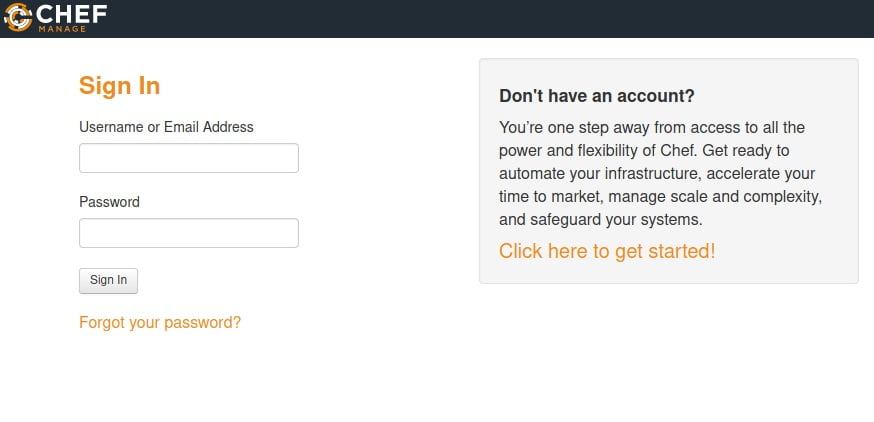
You can access the chef web interface using the server hostname or IP address as show below:
http://chef.example.com/login
At the above screen, you can login with the new admin account that is created above .
That’s all.
If you face any error and issue in above steps , please use comment box below to report.
If our tutorials helped you, please consider buying us a coffee. We appreciate your support!
Thank you for your support.


