
In this article, we are going to shows that how to Install Chatwoot on Ubuntu 18.04 | 20.04.
Chatwoot is an open source and customer support tool for real-time messaging platform. With help of it you can integrate different kind of social media channels such as Facebook, Twitter, Email, whatsapp etc to a single platform.
Features Of Chatwoot
- Live Chat – It provides a simple and powerful live chat feature for your website.
- Integrations – It offers the flexibility of integration with collaboration tools like Slack.
- Shared inbox– It also offers the shared inbox feature for your team for collaboration.
Install Chatwoot on Ubuntu 18.04 | 20.04
Simply follow below steps to Install Chatwoot on Ubuntu 18.04 | 20.04:
Step 1 : Download Chatwoot Installation Script
To download the installation script of Chatwoot on your Ubuntu, run the command below:
cd /tmp
wget https://raw.githubusercontent.com/chatwoot/chatwoot/develop/deployment/setup_20.04.sh -O setup.sh
Chatwoot Installation Script will download and install all the required packages to run the Chatwoot platform.
Step 2 : Install Chatwoot on Ubuntu
After downloading the Chatwoot Installation Script , make it executable and then install it by running below commands:
sudo chmod 755 setup.sh
sudo ./setup.sh master
The above command will install all the required packages and on a successful installation, you will see a output similar as below:
oot! Woot!! Chatwoot server installation is complete
The server will be accessible at http://<server-ip>:3000
To configure a domain and SSL certificate, follow the guide at https://www.chatwoot.com/docs/deployment/deploy-chatwoot-in-linux-vm
Step 3 : Install Nginx and Configure it as a Reverse Proxy
After install Chatwoot, You will need to install Nginx web server and configure it as a reverse proxy. You can skip this step if you have already installed it on your Ubuntu.
To install Nginx, run the command below:
sudo apt update
sudo apt install nginx
After install Nginx, run the command below to unlink the default nginx configuration file:
sudo unlink /etc/nginx/sites-enabled/defaultNow create a new Nginx virtual host configuration file using below command:
cd /etc/nginx/sites-available
sudo nano chatwoot.conf
After create file, add the below lines in the newly created configuration file:
# server {
  server_name chatwoot.example.com www.chatwoot.example.com;

# Point upstream to Chatwoot App Server
set $upstream 127.0.0.1:3000;

# Nginx strips out underscore in headers by default
# Chatwoot relies on underscore in headers for API
# Make sure that the config is turned on.
underscores_in_headers on;
location /.well-known {
alias /var/www/ssl-proof/chatwoot/.well-known;
}

location / {
proxy_pass_header Authorization;
proxy_pass http://$upstream;
proxy_set_header Upgrade $http_upgrade;
proxy_set_header Connection "upgrade";
proxy_set_header Host $host;
proxy_set_header X-Forwarded-Proto $scheme;
proxy_set_header X-Forwarded-Ssl on; # Optional

proxy_set_header X-Real-IP $remote_addr;
proxy_set_header X-Forwarded-For $proxy_add_x_forwarded_for;

proxy_http_version 1.1;
proxy_set_header Connection “”;
proxy_buffering off;

client_max_body_size 0;
proxy_read_timeout 36000s;
proxy_redirect off;
}
listen 80;
}
Now save the configuration file and link it to /etc/nginx/sites-enabled.
sudo ln -s /etc/nginx/sites-available/chatwoot.conf /etc/nginx/sites-enabled/chatwoot.conf
Next, verify the Nginx configuration and reload nginx services using commands below:
$ sudo nginx -t
$ sudo systemctl reload nginx
Step 4 : install and Configure Let’s Encrypt SSL
To install Let’s Encrypt SSL, add certbot repository by running below command:
sudo add-apt-repository ppa:certbot/certbotNow install certbot:
sudo apt update
sudo apt install python-certbot-nginx
Run Let’s Encrypt using below command:
sudo mkdir -p /var/www/ssl-proof/chatwoot/.well-known
sudo certbot --webroot -w /var/www/ssl-proof/chatwoot/ -d yourdomain.com -i nginx
Step 5 : Access Chatwoot Web Interface
Open your browser and browse to the http://SERVER-IP:3000 or http://localhost:3000 :
http://localhost:3000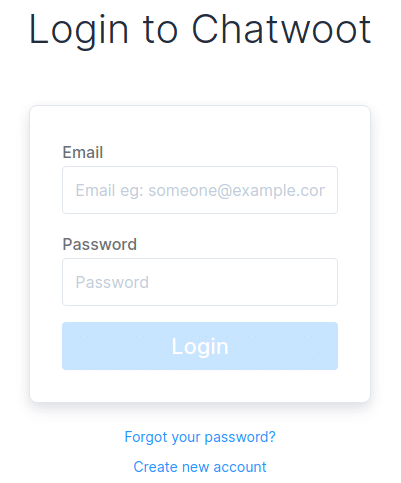
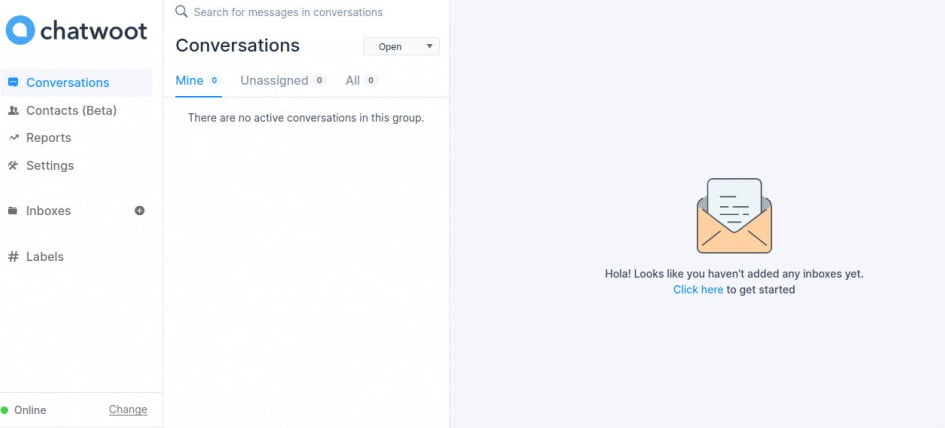
Step 6 : Configure Chatwoot Environment
Now, you will need to configure chatwoot environment to a properly functioning system.
First, login as Chatwoot user and create an environment variable folder by running below command:
sudo -i -u chatwoot
cd chatwoot
nano .env
Now you can check Chatwoot Environment variables page to add variable definitions of social media channels in the file:
Environment Variables (chatwoot.com)
For an example, if you want to use Facebook social media channel then you can add the lines below in the environment variable file.
FB_VERIFY_TOKEN=
FB_APP_SECRET=
FB_APP_ID=
If you want to use Sendgrid to send your emails, add the below environment variables in the file:
SMTP_ADDRESS=smtp.sendgrid.net
SMTP_AUTHENTICATION=plain
SMTP_DOMAIN=<your verified domain>
SMTP_ENABLE_STARTTLS_AUTO=true
SMTP_PORT=587
SMTP_USERNAME=apikey
SMTP_PASSWORD=<your Sendgrid API key>
To Configure Storage Channel:
ACTIVE_STORAGE_SERVICE='local'Once you made all changes in environment file, you have to restart Chatwoot using below command:
sudo systemctl restart chatwoot.targetThat’s all.
If you face any error and issue in above steps , please use comment box below to report.

