
In this post, we are going to shows how to Install Caddy Web Server on Ubuntu 18.04 | 20.04. If your are interested to Install Caddy Web Server in Ubuntu then this post is ideal for you.
The Caddy web server is an open-source, secure and powerful web server that is written in Go Programming language. It can be used to host your websites, services and applications. It uses the Go standard library for its HTTP functionality and supports HTTPS natively.
The Caddy can be also used as a reverse proxy, task scheduler, load balancer, gateway and many more.
For more details about Caddy Web Server, please visit its official website.
Ubuntu is a Linux Operating System based on Debian and mostly composed of non-profit(free) and open-source software. It is a complete Linux operating system that compatible with desktops, laptops, server and other devices. Ubuntu is Open Source so it is freely available for both community and professional support.
if you are a learner and looking for a Linux distribution for Learning then Ubuntu Linux Operating System is best for you as a beginning.
How to Install Caddy Web Server in Ubuntu
Simply follow below steps to install Caddy Web Server in Ubuntu :
Step 1 : Update System and Install Required Packages
First of all, run the commands below to update the system and install required packages:
sudo apt update
sudo apt install debian-keyring debian-archive-keyring apt-transport-https curl
Step : 2 Install Caddy From Official Repository
To install Caddy from its official repository, first you need to add Caddy package repository key to ubuntu. To do that run the command below:
curl -1sLf 'https://dl.cloudsmith.io/public/caddy/stable/gpg.key' | sudo apt-key add -Next, run the command below to create a repository file:
curl -1sLf 'https://dl.cloudsmith.io/public/caddy/stable/debian.deb.txt' | sudo tee /etc/apt/sources.list.d/caddy-stable.listNow, update the Ubuntu package lists and install Caddy by running command below:
sudo apt update
sudo apt install caddy
Installing package automatically start and run Caddy as a systemd service named caddy using official caddy.service unit file.
Next, run the commands below to stop, start and enable Caddy service to always start up with the server boots:
sudo systemctl stop caddy
sudo systemctl start caddy
sudo systemctl enable caddy
To check the status of Caddy, run the command below:
sudo systemctl status caddyOutput
● caddy.service - Caddy
Loaded: loaded (/lib/systemd/system/caddy.service; enabled; vendor preset:>
Active: active (running) since Fri 2021-05-21 11:18:05 UTC; 22s ago
Docs: https://caddyserver.com/docs/
Main PID: 4136 (caddy)
Tasks: 7 (limit: 4354)
Memory: 7.9M
CGroup: /system.slice/caddy.service
└─4136 /usr/bin/caddy run --environ --config /etc/caddy/CaddyfileNow, open your browser and search for your server IP or domain name:
http://localhost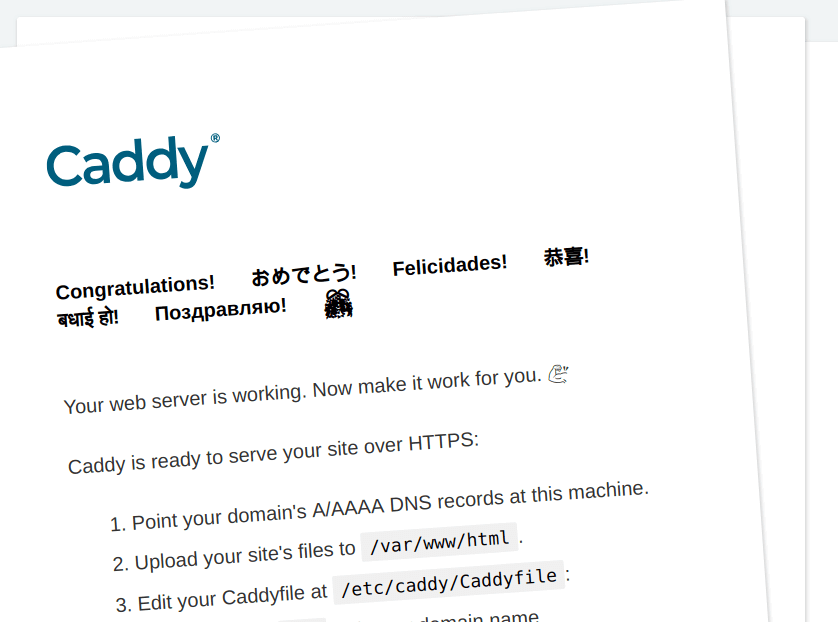
Configuring Caddy
To Configure Caddy, open its default configuration file that is located at /etc/caddy/Caddyfile.
To do that, run the command below:
sudo nano /etc/caddy/CaddyfileThen add the lines below in the configuration file:
http://.example.com {
    root * /var/www/html
    encode gzip
    file_server
}
The above setting is a basic Caddy configuration. Replace http://.example.com with your domain name and /var/www/html with the your root directory.
Save the file and exit.
Once you done with the changes, reload Caddy service using command below:
sudo systemctl reload caddyNow, open your browser and browse for the domain to test your caddy server configuration.
That’s all
If you face any error and issue in above steps , please use comment box below to report.
If our tutorials helped you, please consider buying us a coffee. We appreciate your support!
Thank you for your support.

