
In this article, we are going to shows that how to Install Apache Guacamole on Ubuntu 18.04 | 20.04.
Apache Guacamole is free and open source clientless HTML5 web based remote desktop gateway that supports standard protocols like VNC, RDP, and SSH.
It is allow you to remote access to servers and desktops machines through a web browser.
Install Apache Guacamole on Ubuntu 18.04 | 20.04
Simply follow below steps to Install Apache Guacamole on Ubuntu 18.04 | 20.04:
Step 1 : Install Required Dependencies
Before starting to install Apache Guacamole, you will need to install some required dependencies in your Ubuntu system to build it from the source.
To update Ubuntu and install required dependencies, run the commands below:
sudo apt update
sudo apt install make gcc g++ libcairo2-dev libjpeg-turbo8-dev libpng-dev libtool-bin libossp-uuid-dev libavcodec-dev libavutil-dev libswscale-dev freerdp2-dev libpango1.0-dev libssh2-1-dev libvncserver-dev libtelnet-dev libssl-dev libvorbis-dev libwebp-dev
Step 2 : Install Tomcat Server
After update Ubuntu and install required dependencies, now you will need to install Tomcat server to connect clients to remote hosts via its web browser.
Run the command below to install Tomcat server:
sudo apt install tomcat9 tomcat9-admin tomcat9-common tomcat9-userRun the commands below to start and enable Tomcat Server:
sudo systemctl start tomcat9
sudo systemctl enable tomcat9
To check the status of Tomcat Server, run the command below:
sudo systemctl status tomcat9Step 3 : Install Guacamole Server
By default, Guacamole Server packages is not includes in the Ubuntu default repository. So you will need to build it from the source.
To do that, download the latest version 1.3.0 of Guacamole source by running the command below:
cd /tmp
wget https://downloads.apache.org/guacamole/1.3.0/source/guacamole-server-1.3.0.tar.gz
After the downloaded the package, extract the downloaded file by running command below:
tar -xvzf guacamole-server-1.3.0.tar.gzNow change the folder to the extracted folder and run the commands below to configure it:
cd guacamole-server-1.3.0
sudo ./configure --with-init-dir=/etc/init.d
After the configuration, run the commands below to install guacamole-server:
sudo make
sudo make install
sudo ldconfig
Now run the commands below to start and enable Guacamole service:
sudo systemctl enable guacd
sudo systemctl start guacd
To check the status of Guacamole, run the command below:
sudo systemctl status guacdThe above command display a output similar as below:
● guacd.service - LSB: Guacamole proxy daemon
     Loaded: loaded (/etc/init.d/guacd; generated)
     Active: active (running) since Sat 2021-02-27 14:28:13 UTC; 9s ago
       Docs: man:systemd-sysv-generator(8)
    Process: 25785 ExecStart=/etc/init.d/guacd start (code=exited, status=0/SUCCESS>
      Tasks: 1 (limit: 4356)
     Memory: 12.0M
     CGroup: /system.slice/guacd.service
             └─25790 /usr/local/sbin/guacd -p /var/run/guacd.pid

Feb 27 14:28:13 ubuntu2004 systemd[1]: Starting LSB: Guacamole proxy daemon...
Step 4 : Install Guacamole Client
Next, you will need to install Guacamole client. The Guacamole client is written in Java and uses HTML5 to create connections to remote machines.
To download it, run the command below:
wget https://mirrors.estointernet.in/apache/guacamole/1.3.0/binary/guacamole-1.3.0.warAfter downloading, copy it to the /etc/guacamole directory by running the below command:
sudo mkdir /etc/guacamole
sudo mv guacamole-1.3.0.war /etc/guacamole/guacamole.war
Now, create a symbolic link of guacamole client to Tomcat webapps directory by running below command:
sudo ln -s /etc/guacamole/guacamole.war /var/lib/tomcat9/webapps/Next, restart Tomcat and Guacamole services by using below command:
sudo systemctl restart tomcat9
sudo systemctl restart guacd
Step 5 : Configure Guacamole
To configure Guacamole, first you will need to create a config properties file as show below:
sudo nano /etc/guacamole/guacamole.propertiesNow add the below lines into config properties file :
guacd-hostname: localhost
guacd-port: 4822
user-mapping: /etc/guacamole/user-mapping.xml
When done, Save and close the file.
Now create two more directories for libraries and extensions. To do that run the command below:
sudo mkdir /etc/guacamole/{extensions,lib}Next set guacamole home directory environment variable to tomcat (/etc/default/tomcat9) default configuration file.
sudo sh -c "echo 'GUACAMOLE_HOME=/etc/guacamole' >> /etc/default/tomcat9"Now, generate a password with md5 hash for the user-mapping configuration. To generate a password, run the commands below:
echo -n your_password_here | openssl md5Replace your_password_here with your desired password. The above command display a output with password hash as show below:
Output
(stdin)= 47271f346e78fc4e5f345s878b3809fe48b9a
Next, create a new user-mapping.xml by running command below:
sudo nano /etc/guacamole/user-mapping.xmlNow, add the below lines into the lines:
<user-mapping>
    <authorize
            username="admin"
            password="47271f346e78fc4e5f345s878b3809fe48b9a"
            encoding="md5">

        <connection name="Ubuntu20.04-Server">
            <protocol>ssh</protocol>
            <param name="hostname">192.168.0.100</param>
            <param name="port">22</param>
            <param name="username">root</param>
        </connection>
        <connection name="Windows Server">
            <protocol>rdp</protocol>
            <param name="hostname">192.168.0.150</param>
            <param name="port">3389</param>
        </connection>
    </authorize>
</user-mapping>
When done, save and exit the file. Restart Tomcat and Guacamole service to apply the changes:
sudo systemctl restart tomcat9
sudo systemctl restart guacd
Step 6 : Access Guacamole Web Interface
Open your web browser and type the URL http://your-server-ip:8080/guacamole/ or http://localhost:8080/guacamole as show below:
http://your-server-ip:8080/guacamole/OR
http://localhost:8080/guacamoleAfter search the above URL, You will be redirected to the Apache Guacamole login page:
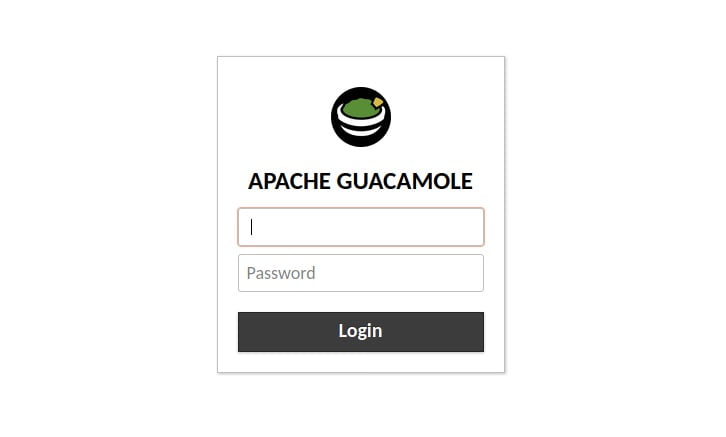
Now, type the username and password which you specified in user-mapping.xml file.
That’s all
If you face any error and issue in above steps , please use comment box below to report.
If our tutorials helped you, please consider buying us a coffee. We appreciate your support!
Thank you for your support.

