This article shows how to install and use TeamViewer in Windows 11. If you are a new user and want to install and use TeamViewer in your windows 11 system then this article is useful and handy for you.
The TeamViewer is a cross platform remote support software application for remote control, desktop/Laptop screen sharing and file transfer between computers.
It is free but only for personal use. You can not use its free version for commercial use. If you want to use TeamViewer for Business or non-personal use, you need to purchase a license to use it.
For more details about TeamViewer, visit its official website.
New Microsoft Windows 11 is a major release of the Windows NT operating system developed by Microsoft Windows. It is the successor to Windows 10 and it’s expected to be released later this year.
When you are ready, follow the steps below to install and use TeamViewer in your Windows 11 system:
How to install and use TeamViewer in Windows 11
In windows 11, installing TeamViewer is very easy and straightforward. You just need to download its installer package and then run it.
Click the link below to download TeamViewer:
Download TeamViewer for Windows
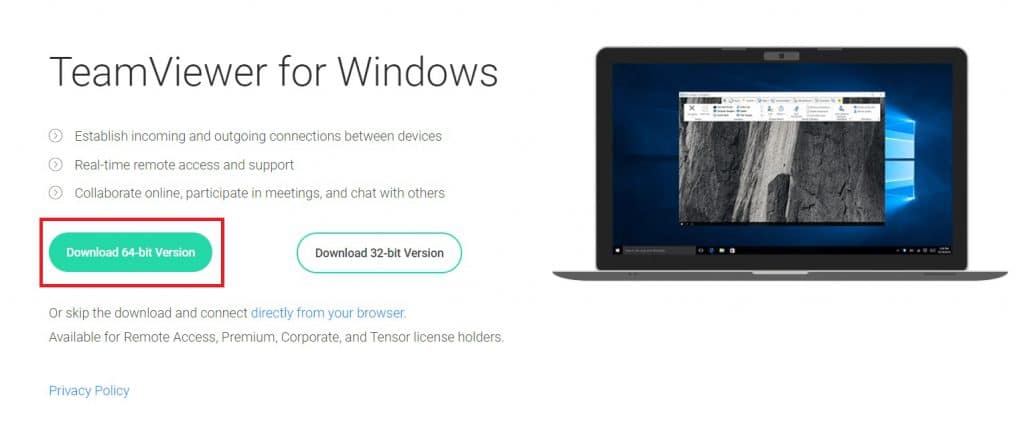
On the download page, click on the Download button named Download 64-bit Version as shown in the image below:
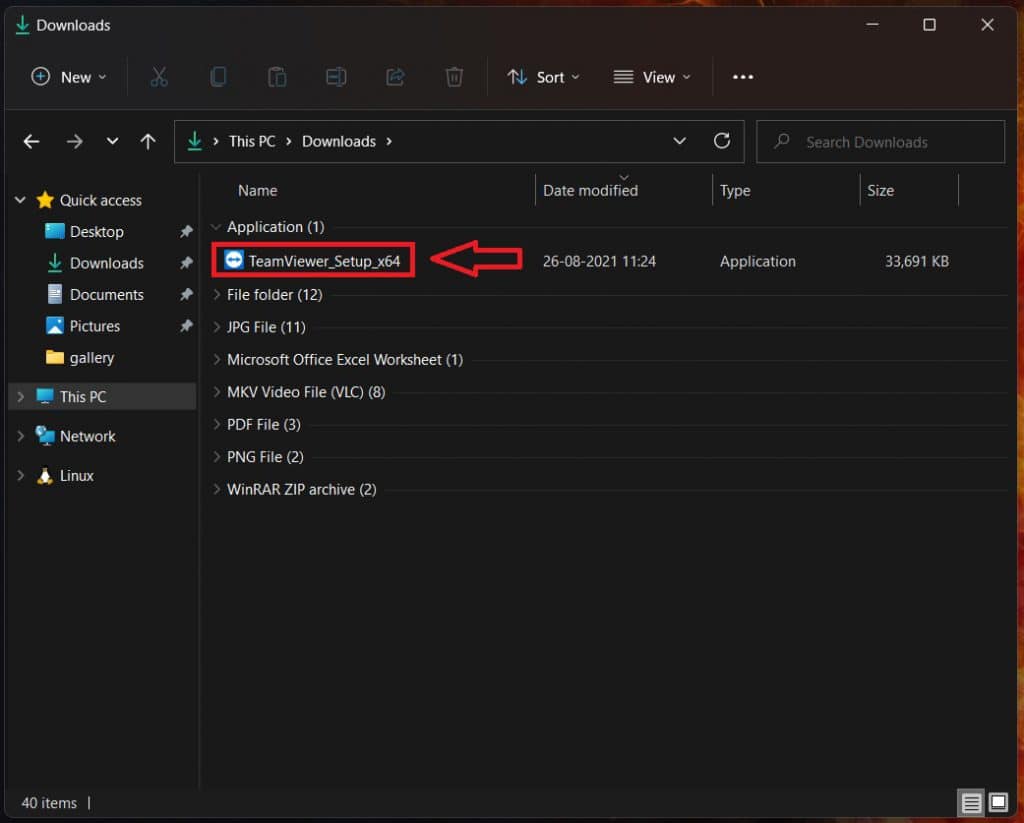
The downloaded file named TeamViewer_Setup_x64 will be saved in Downloads folder of your system. Open the Downloads folder, find the TeamViewer_Setup_x64 file and double-click on it to start the installation process.
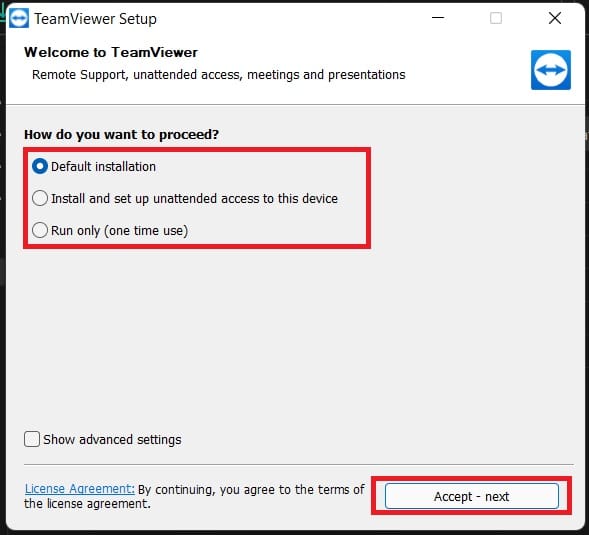
During the installation process of TeamViewer, you need to choose the installation types when prompted. Depending on your situation, you should choose one. For this article, we are going to choose the Default installation.
After select, click on the the Accept – next button to start installation.
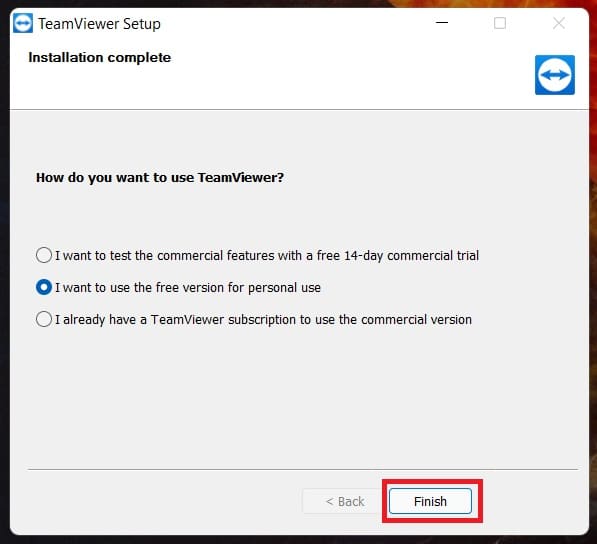
At the final stage of the installation process, you will need to select how do you want to use TeamViewer. Select free version for personal use. If you want to use it for commercial purposes then you will need to purchase a license to use it.
When you select, click on the Finish button to complete the installation process as shown in the image below:
How to use TeamViewer in Windows 11
At this point, TeamViewer is installed and ready to use. To lunch it, double-click on its icon from your desktop or in your application list.
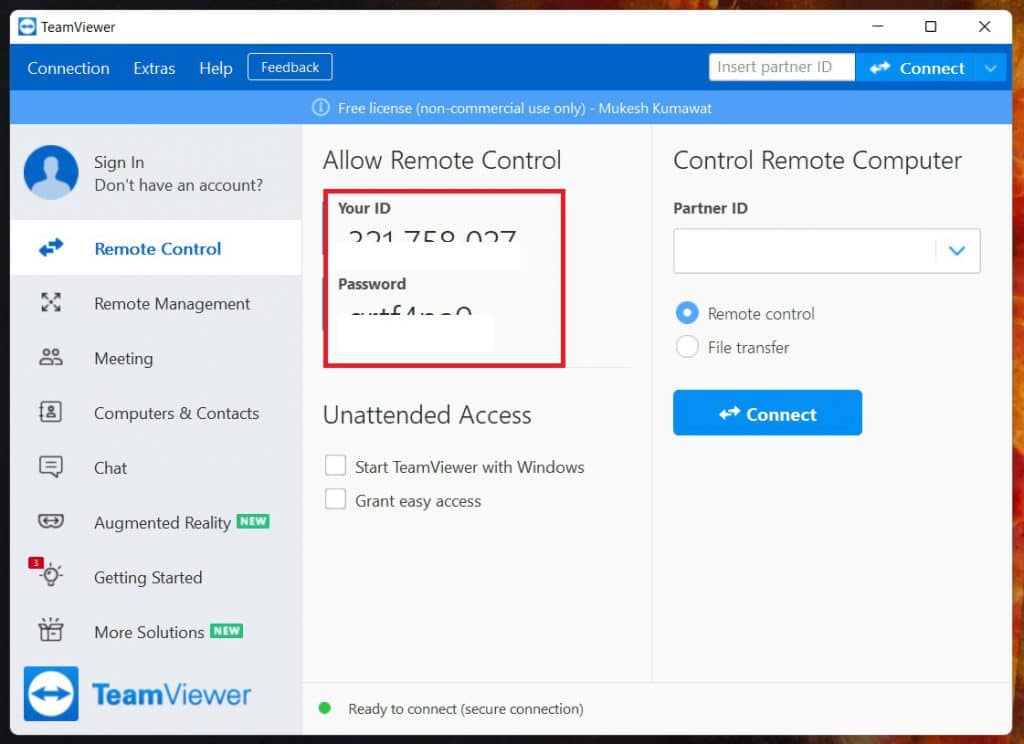
On TeamViewer dashboard, you will get an ID and password. This ID and password allow others to access your computer. You just need to give them your ID and password and when they connect, accept their connection to your computer.
For more details about how to use TeamViewer, visit its help page.
That’s all.
If you face any error and issue in above steps , please use comment box below to report.
If our tutorials helped you, please consider buying us a coffee. We appreciate your support!
Thank you for your support.


